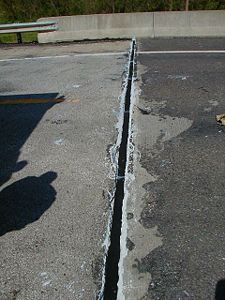
771.12 Bridge Joint Sealing - Polytite
| Code: R328 |
Bridge joint sealing with polytite is done prevent dirt, debris and chlorides from deteriorating the deck and supporting bridge members. The work is scheduled in October thru April with temperatures between 40 to 65 degrees.
Materials
Polytite, Epoxy adhesive, black beauty abrasive.
Procedures
1. Perform any repairs to the joint, as required, before attempting to seal with Polytite. Minor spalls or chipping of the concrete are acceptable. Joints repaired with concrete products shall be allowed to cure for fourteen days. Joints repaired with epoxy products shall be cured in accordance with manufacturer’s recommendations.
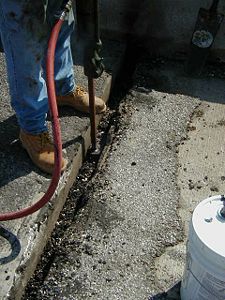
2. Using hand tools or other equipment as required, clean out as much of the existing sealant and debris as possible to a depth of at least 5 in.
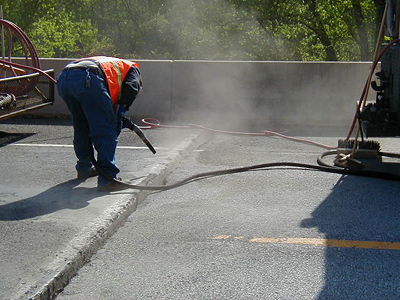
3. Sandblast the joint faces with black beauty or other clean abrasives.
4. Mix and apply epoxy adhesive to sidewalls of joint face.
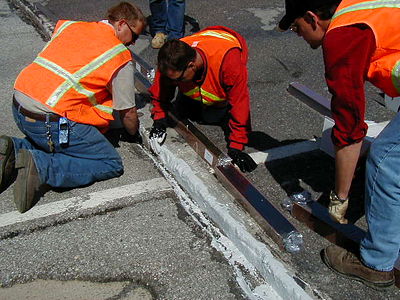
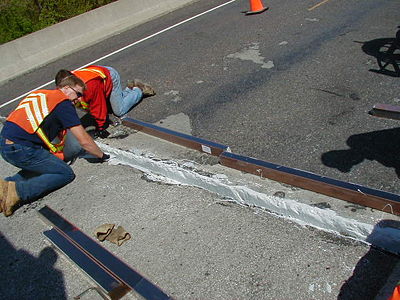
5. Release Polytite from packaging and pull off tape to expose tacky surface. Slide material down into the gap leaving material one-quarter inch below roadway surface. Upon release from packaging, Polytite will begin to expand so install product immediately. It may be necessary to install temporary shims against the sidewalls between the joint face and the Polytite to help hold the material in place. Remove shims when the material has adequately expanded.
6. Coat adjacent pieces or Polytite with silicone caulk when working across the joint opening, and push snugly to fit against each additional section. Caulk the top of the butt joint at the roadway surface.
General Note: Material should be sized to fit as snugly as possible into the joint. The expansion is based on temperature and colder temperatures may take longer to expand. Acceleration of the expansion may be obtained by using artificial heating source. The material should be placed in a warmer environment such as truck cab on colder days to help the material expand quicker when the release tape is removed.
